Creating a DIY Harley Quinn costume is much simpler and more affordable than you might think. The key is knowing how to transform basic clothing that you probably already have at home, using simple materials to nail the iconic look of the anti-heroine. This way you’ll not only save money, but you’ll be able to personalize every detail for a result that’s totally yours.
Your guide to the perfect DIY costume
Are you dying to embody Harley Quinn but don’t want to spend a fortune doing it? You’ve come to the right place. A homemade costume is not only a smart move for your wallet, but it gives you total control over the final result. You’ll be able to choose from her best-known versions, from the classic jester look to the tougher ones we’ve seen in movies, adapting each piece to your style.
Harley’s popularity is crazy, especially when parties like Halloween are coming up. In fact, interest in costumes of comic characters like her skyrockets every year. Searches for “Harley Quinn costume” and similar terms go up to 230% in the weeks before Halloween in Spain. Betting on a DIY project can save you between 40% and 70% compared to a store-bought outfit.
Why make the costume yourself?
The decision to put together your own costume goes far beyond simply saving money. Here are the advantages that really matter:
- Unlimited creativity: You have total freedom to mix elements from different versions or add your own personal and unique touch.
- Perfect fit: You can adapt each piece to your exact measurements, something that pre-made costumes almost never achieve.
- Sustainability: Reusing clothes from your wardrobe is a great way to give a second life to those pieces you no longer wear.
- Pride and satisfaction: Wearing something you’ve created with your own hands is an incredible feeling. It’s priceless.
This infographic sums up at a glance why making your own Harley Quinn costume is a great idea.
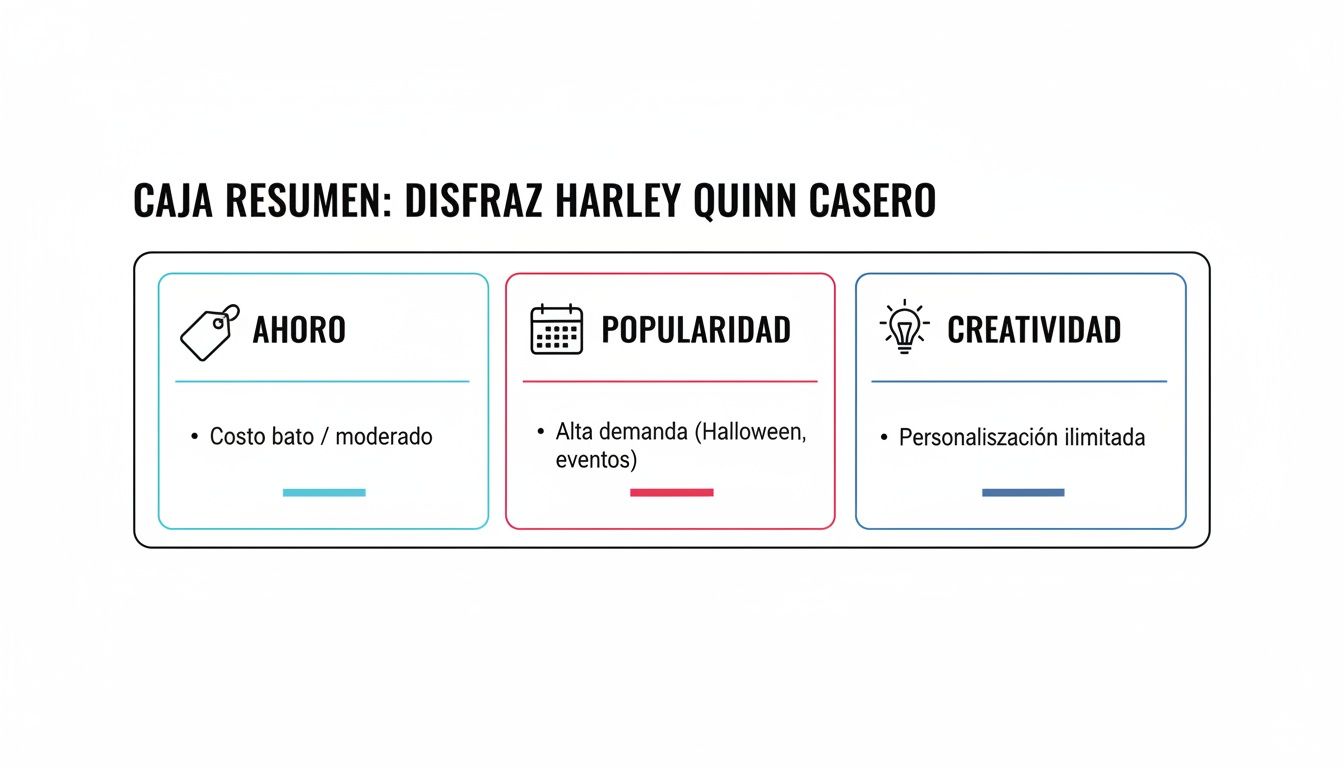
As you can see, the savings, the popularity of the character and the opportunity to let your creativity run wild make this option super attractive. And although Harley is one of the most famous villains, if you want to learn more about her universe, you can discover the most powerful DC characters on our blog.
Gather your materials on a smart budget
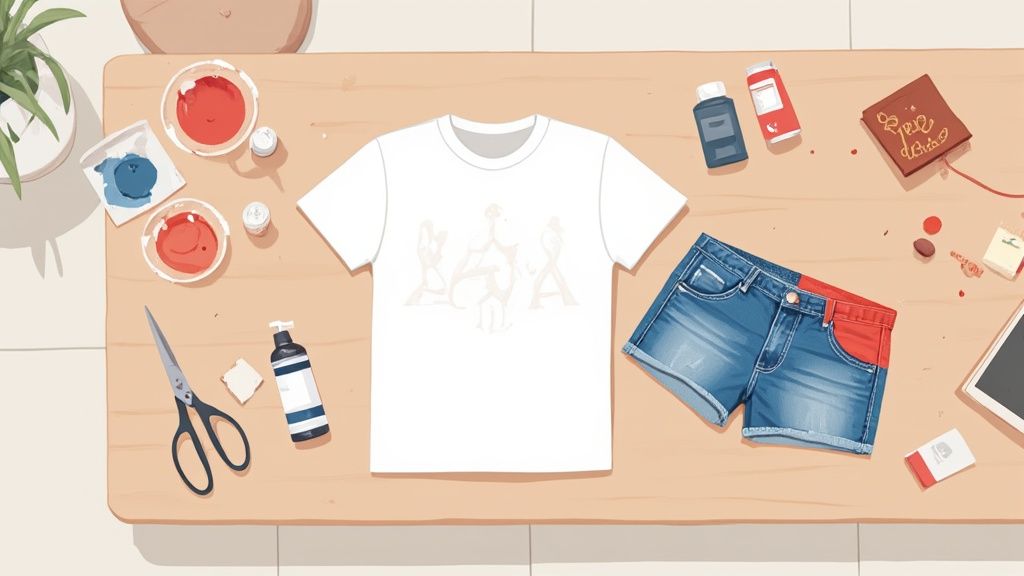
The secret to a great DIY Harley Quinn costume is not spending a fortune, but rather the creativity you put into the materials. Before you run off to shop, take a good look through your closet. You’d be surprised to know that you probably already have the perfect base waiting to be transformed.
A simple old white t-shirt is the ideal canvas for the mythical “Daddy’s Lil Monster”. Some denim shorts you no longer wear can become, with a little skill, that characteristic two-tone piece of her look. Giving these garments a second life not only saves you money, but gives them a touch of authenticity and wear that a store-bought costume rarely achieves.
Your essential shopping list
Once you’ve rescued the clothes that will serve as your base, it’s time to make a smart list for those details that will make the difference. Don’t stress thinking about professional materials; with a few basics from a haberdashery or stationery store you can achieve a spectacular finish.
Here’s what you can’t miss:
- Fabric paint (red, blue, black and white): It’s essential, especially for the t-shirt. It holds up great and won’t come off with washing, in case you want to reuse it.
- Hair color sprays (pink and blue): The fastest and cheapest way to get her colored pigtails without having to commit to permanent dye.
- Studs or adhesive spikes: Perfect for giving that punk vibe to the belt or bracelets. You can find them at any haberdashery for very little money.
- Permanent markers (black and gold): They’re a fantastic alternative to paint for the finest details, like the letters on the jacket or small tattoos.
A homemade costume is proof that imagination is more powerful than budget. Each element you reuse or create yourself adds a layer of personality that no store-bought suit can match.
Clever alternatives to save even more
If the budget is really tight, don’t worry! There are always tricks to substitute materials without the final result suffering. For example, instead of buying a studded belt, you can glue small pieces of cardboard painted silver onto an old belt you have at home. It works wonderfully.
For the stripes on the jacket or the details on the bat, colored electrical tape (red and white) is an incredibly easy, quick and effective solution. You don’t have to sew or paint anything. In fact, a cost analysis here in Spain shows that the average spending for this type of costume is between €12 and €30, depending on how much effort you put into the details. The main investment is usually the wig (between €6 and €15) and the paints (from €3 to €8), as you can see in this Harley Quinn costume guide.
In addition to materials for the outfit, if you’re looking for the perfect t-shirt as a base or simply want some inspiration, you can check out the wide variety of designs in our geek t-shirt store. Often, finding the right garment is the best starting point for everything else to flow.
Let’s get to work: transform your clothes into Harley Quinn’s outfit
Now that you have all the materials on the table, the fun part begins: the moment of transformation. Converting clothes you had around the house into key pieces of your homemade Harley Quinn costume is the most creative process and, without a doubt, the one that will make a difference in the final result. Let’s start with the central piece, the heart of the outfit: the mythical “Daddy’s Lil Monster” t-shirt.
The “Daddy’s Lil Monster” t-shirt
You don’t need to be a lettering artist to nail the design. The secret is to make yourself a stencil. Search for the design online, print it out, and trace it onto thin cardboard. Then, with a cutter, carefully cut out the letters. Done! You now have the perfect guide for the paint to turn out crisp.
For the letters, use red fabric paint, and for the neck and sleeve details, use black. A trick to keep the color uniform and prevent it from seeping under the stencil is to apply the paint with little dabs using a sponge or stencil brush.
The two-tone shorts: the big challenge
The shorts are another iconic piece. Getting that half-red and half-blue look is simpler than it seems, but it does require a bit of patience. The goal is to dye each side separately without the colors mixing in the middle and creating a purple stain.
The most effective technique is to protect the half you’re not going to dye. Submerge one side in red dye following the package instructions. When it’s completely dry, cover that part with plastic and painter’s tape. Only then dye the other side blue.
To put the finishing touch on it, you can add golden details with a permanent fabric marker or gold paint, drawing some lines that simulate seams. It will give it much more character.
An expert tip: To give the clothes that worn and authentic Harley look, gently rub the painted areas (when they’re dry, of course) with a piece of fine sandpaper. It’s a small detail, but trust me, it adds brutal realism.
The “Property of Joker” jacket
The jacket is the icing on the cake. Whether it’s a bomber you had lying around or a basic hoodie, the “Property of Joker” message on the back is non-negotiable. Again, a stencil will be your best friend to make sure the letters are well-aligned and look professional.
To achieve that characteristic golden shine, gold spray fabric paint is a great option. It covers very evenly and leaves a super eye-catching metallic finish. If you prefer to have more control and precision, a gold paint permanent marker will let you touch up the edges without going outside the lines.
Here are some tips so you don’t make typical beginner mistakes:
- Put cardboard inside the t-shirt before you start painting. This will prevent the paint from seeping through and staining the back of the garment.
- Patience is your ally. Let each layer of paint or dye dry completely before continuing to work or applying another color.
- Set the paint with heat. When everything is dry, iron the painted fabric by placing a thin cloth on top. The heat sets the fabric paint and makes it resistant to washing.
Creating each one of these pieces is not just part of the costume-making process; it’s an opportunity to have fun and test your creativity. Every brushstroke and every detail you add makes that homemade Harley Quinn costume unique and yours. Don’t look for the perfection of a factory-made garment, but the authenticity of a chaotic and rebellious character. Have a blast
Master the unmistakable makeup and hairstyle
Let’s be honest: makeup and hairstyle are not just a simple add-on, they are the soul of any homemade Harley Quinn costume. Without her iconic look, the rest of the outfit loses all its charm. It’s precisely those details that completely transform you and fully immerse you in the character’s skin.
The foundation of everything is achieving that pale, almost white skin that characterizes her. You don’t need to spend a fortune on professional products; a very light foundation base mixed with talcum powder or even white water-based face paint works wonderfully. The trick to make it last through the whole party is to seal everything really well with translucent powders at the end.
Achieve Harley’s chaotic look
The eyes are undoubtedly the center of attention. And here the key is not perfection, but controlled chaos. You’ll need a very vibrant pink eyeshadow for one eye and an electric blue for the other. Apply them fearlessly all over the eyelid and then, with a clean brush (or directly with your finger, which gives it a more authentic touch), blend the color downward, creating that famous smudged makeup effect.
To make it even more spot-on:
- Black eyeliner: Use a liquid or gel one to draw a thick line on the upper eyelid. Don’t be afraid of it being bold.
- The heart: With the same eyeliner, draw a small black heart right below the eye on the blue side.
- The “Rotten” tattoo: If you’re feeling brave, write “ROTTEN” on your jawline with a fine-tip eyeliner. A tip: practice first on paper to get the hang of the letters.
Imperfection is your best tool. Harley Quinn’s makeup doesn’t have to be symmetrical or neat. It represents her impulsive personality, so relax and don’t obsess over both eyes being identical.
Here are some product ideas that can come in handy, whether you want to invest a little more or you’re looking for more affordable options.
Makeup product guide for a long-lasting look
So your Harley Quinn makeup stays perfect for hours, choosing the right products is essential. Here’s a table with recommendations and budget-friendly alternatives to help you achieve it.
| Makeup Element | Recommended Product | Budget-Friendly Alternative | Application Tip |
|---|---|---|---|
| Pale Base | White character makeup (e.g. Kryolan TV Paint Stick) | Very light foundation + talcum powder or white face paint | Apply a thin layer and seal well with translucent powder to prevent cracking. |
| Eye Shadows | Vibrant color palettes (e.g. BH Cosmetics) | Individual shadows from brands like Essence or NYX | Apply with your fingers for a more intense and blended finish. |
| Black Eyeliner | Water-resistant gel eyeliner (e.g. Inglot AMC Eyeliner Gel 77) | Fine-tip liquid eyeliner (e.g. from Wet n Wild or Catrice) | For the tattoos, use an eyeliner that won’t smudge easily. |
| Red Lipstick | Long-lasting matte liquid lipstick (e.g. Maybelline SuperStay Matte Ink) | Matte lipstick bar from any budget brand | Outline your lips first and then apply the lipstick. Bite a tissue to remove excess. |
| Setting Spray | Urban Decay All Nighter Setting Spray | Rose water or a drugstore setting spray (e.g. from W7) | Spray 20-30 cm from your face once all makeup is done. |
With these options, you can adjust your budget without sacrificing the final result. What matters is technique and attitude.
The Unmistakable Two-Tone Hairstyle
Hair is just as important as makeup. Those two high pigtails that are a bit messy are her trademark. First, divide your hair down the middle with a well-defined center part. Then, make two high pigtails, one on each side. Don’t stress if they’re not perfect; actually, a couple of loose strands in front will give you a more natural and mischievous look.
For the color, temporary sprays are your best friends. They’re cheap and wash out with a simple shampoo. Spray pink on the tips of one pigtail and blue on the other. A pro tip: cover your shoulders with an old towel while you apply it to avoid staining your clothes. Once it’s dry, some hairspray will help set the color and prevent it from transferring. If you prefer something less “invasive,” hair chalks are a great alternative and even easier to remove.
Add the Final Touch with DIY Accessories
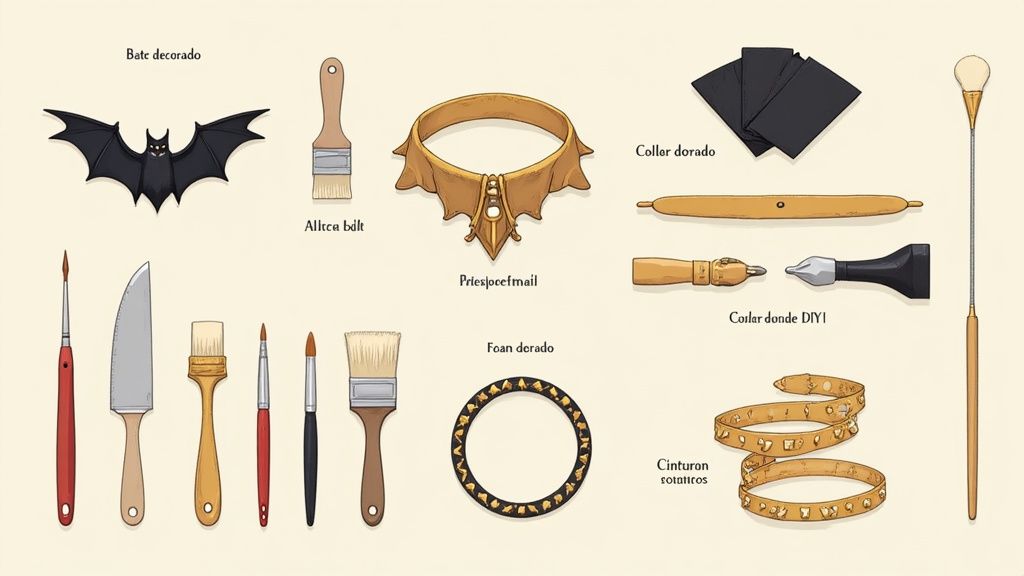
A costume can look great, but it’s the little details that really make it memorable. To nail your Harley Quinn homemade costume, there’s nothing like creating her most iconic accessories with your own hands. Not only will it be cheaper, but you’ll add a layer of authenticity that makes all the difference. Don’t worry, you don’t need to be a crafts expert, just a bit of ingenuity and the right materials.

Each accessory tells a little piece of Harley’s story, from her inseparable bat to that famous necklace. Making them is much easier than it seems and allows you to add your personal touch so the final result is yours and nobody else’s.
Build the “Good Night” Bat
Harley’s baseball bat is, without a doubt, her most recognizable accessory. But you don’t need to buy a real one; a plastic bat from any toy or costume store is the perfect base. It’s light, safe, and most importantly, much more economical.
Once you have it, give it a good coat of wood-colored acrylic paint. When it’s completely dry, wrap the handle with white fabric tape to get that sporty look. And now comes the fun part: the text.
With a black permanent marker, write “GOOD NIGHT” in capital letters along the bat. Pay attention to the typography they use in the movies so it looks as faithful as possible. For other details, like the blue diamond and the phrases that look scribbled, use colored markers.
A tip: don’t obsess over making it perfect. Harley’s bat has a worn appearance, as if it has seen a lot of action. A stain here or a slightly smudged letter will only add realism and character to your costume.
Create the “PUDDIN” Necklace
That golden necklace with the word “PUDDIN” is another key element that can’t be missing. For this, your best friend is going to be EVA foam. It’s a super cheap material, easy to cut, and very versatile.
To make it, just follow these steps:
- Draw the letters: On a sheet of EVA foam, draw the letters of “PUDDIN” in capital letters with a block style, nice and thick.
- Cut away: With sharp scissors or a craft knife, carefully cut out each letter with patience.
- The golden touch: Give them several coats of gold acrylic spray paint. Spray achieves that metallic and uniform finish we’re looking for.
- Assemble the necklace: When they’re dry, glue the letters onto a wide ribbon or a piece of white fabric. Make sure they’re centered well.
For the closure, a piece of velcro sewn or glued to the ends of the ribbon will be enough. That way you can put it on and take it off without complications.
The Belt and Bracelets, the Punk Touch
The diamond belt and the spike bracelets are what complete the look. For the belt, you can recycle an old, wide one you have around the house. Cut small diamonds from EVA foam, paint them gold or silver, and glue them well spaced along the belt with strong adhesive.
For the bracelets, you can use the same technique on fabric wristbands or strips of synthetic leather. Spike studs can be found in any haberdashery; many come with prongs that pierce directly, without needing tools.
Creating these accessories is the final phase and, for many, the most fun. Each DIY piece not only completes your Harley Quinn homemade costume, but transforms it into something unique that bears your mark. And if you’re hungry for more villain ideas, head over to our section dedicated to DC villains and find your next inspiration.
Frequently asked questions about your Harley Quinn homemade costume
When you dive headfirst into a creative project, no matter how good the guide is, those last-minute doubts always pop up. And it’s normal. Creating your own Harley Quinn homemade costume is a super fun process, but sometimes you run into a problem or two. Here we answer the most common questions so nothing stops you.
From how to adapt the look for the little ones to the ultimate trick for makeup to last the whole party, this section gives you practical solutions. We want your only concern to be having a blast in a killer costume made by you.
How can I adapt the costume for a child?
When it comes to a kids’ version, comfort and safety come first, no question. Instead of shorts, bicolor leggings are a great option: one red leg and one blue or black. Another idea is to grab some old jeans and paint them directly. They’re much more comfortable for playing and running around.
For the t-shirt, instead of “Daddy’s Lil Monster,” you can go for a diamond pattern or a fun phrase that’s age-appropriate. Always use hypoallergenic water-based makeup, which is much gentler on their skin and washes off without drama. And the bat, of course, should be made of foam or cardboard so it’s lightweight and harmless.
The key to a kids’ costume is that they can move and play without restrictions. Adapt the elements so they’re comfortable and safe, while keeping the character’s essence without sacrificing the child’s fun.
What do I do if I’m not good at sewing?
Don’t panic! Sewing is absolutely not a requirement for this costume. Your best ally will be fabric glue; it’s surprisingly durable and works great for fixing details like the diamonds on the belt or patches.
If you want to create lines and details, colored duct tape is a fantastic, quick solution without hassles. And for the characteristic rips in the t-shirt, you just need scissors and your own hands. Trust me, this costume relies more on creativity and ingenuity than on needle-and-thread skills.
How do I prevent temporary hair color from staining my clothes?
This is the classic fear, but it has a very easy solution. The foolproof trick is to apply the spray or color chalk with the pigtails already done and always protect your shoulders with an old towel so you don’t make a mess.
Once you’ve applied the color, spray a good coat of hairspray over the dyed areas. The hairspray acts as a sealant, fixing the pigment and greatly reducing the chance of it staining your clothes. Of course, make sure it’s completely dry before getting dressed. If you love the world of antiheroes, you can find more inspiration by exploring other DC villains.
At Tienda Camisetas Frikis we celebrate creativity and passion for your favorite characters. If you’re looking for the perfect base for your next costume or simply want to wear your hobby with style, check out our collection at https://tiendacamisetasfrikis.com.